Refrigerator and Freezer
John MacDougall, Annie Laurie, #26
Starting in 2004, I embarked on a "short" experiment……which turned into a long-term project, :) I wished to improve the refrigerator and freezer insulation on my C470, thereby allowing me to have an ice-cold freezer (0 to 8 degrees F) and a cold frig (32 - 38 degrees F), without using too much electrical power, nor spending many 1000's of $$$$ on Glacier Bay's very nice vacuum insulation panels…
While this started as an experiment, it worked so well that most of what I did has become "permanent" on board my Annie Laurie……
Although, I have changed a few things over the years, as needed…and most recently changed my "counter-top" insulating panels to a very nice (and esthetically pleasing) 1.5" of Owens Corning rigid extruded polystyrene ("pink board") with some counter-top "poly-board" attached……which looks good, and is functional as both an insulation panel and as a counter-top…
This "pink board" is Owens Corning rigid EXTRUDED polystyrene insulation board……(Dow's version is blue, and hence referred to as "blue board", but they are essentially the same thing…) These EXTRUDED polystyrene products do NOT absorb water, like "expanded" board (such as white "Styrofoam") and other insulating materials will… This is VERY important and shouldn't be discounted……(If you wish more details, please ask…)
Below is simply a pasting of a post of mine from March 2006, which describes most of what I did……But, now I've got LOTS of photos to go along with all of this…
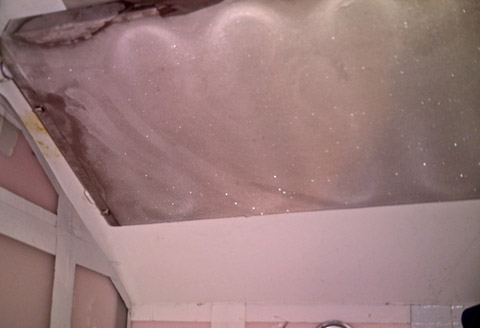
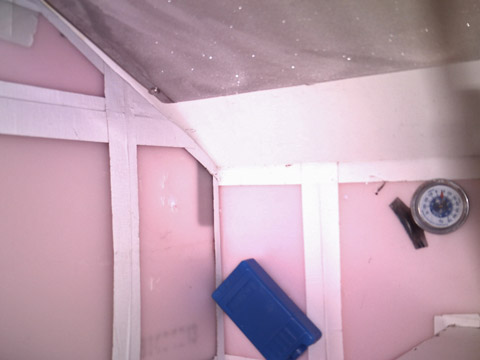
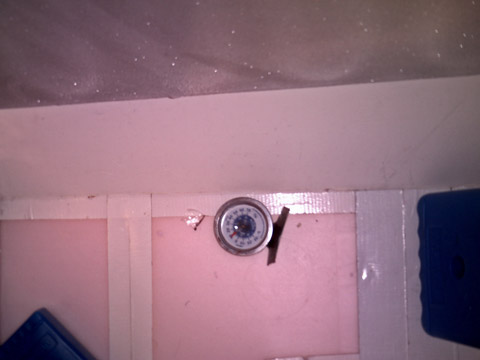
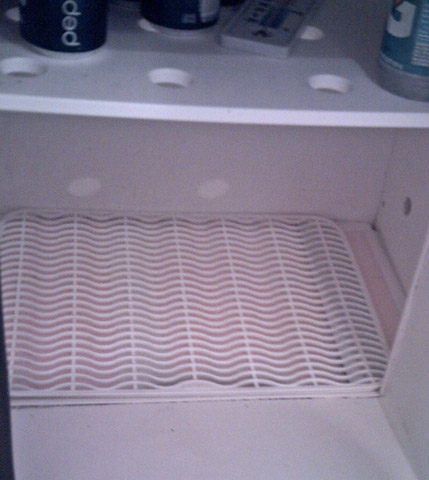
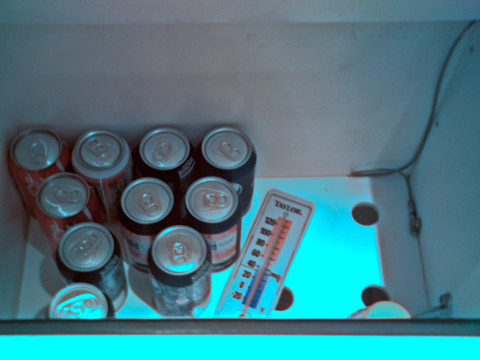
So, here's what I've done…and what I've accomplished…{See photos showing an empty freezer at 7 - 8 degrees and an almost empty frig at 32-33 degrees…all with the the thermostat set at about 5.5 (on a scale of 1 to 7), and ambient air temps in the mid 80's…}
Note: When setting the thermostat at its coldest…The result is that I can keep Hagen Das Ice Cream frozen solid for 3 - 4 weeks in the Bahamas, in the springtime……it would've lasted forever, but I ate it!!! I'd have to find my notes, to give you exact temps / times, in the boxes, but with EMPTY boxes, in the summertime in Florida, I can get the freezer to about 3 to 4 degrees and the frig to 30 - 35 degrees…and I think my total cost of materials was about $100…BUT, many many days of my labor…
I added insulation on the outside of the boxes as well as on the inside…
Outside of frig / freezer boxes:
-
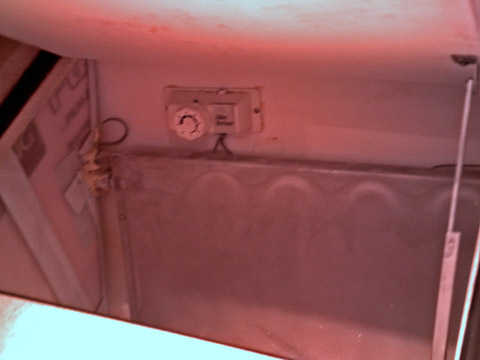
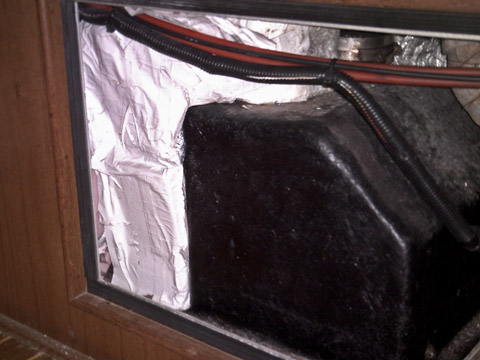
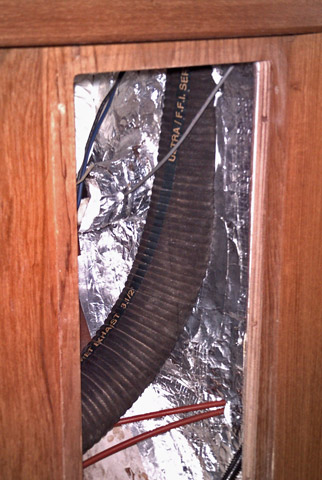
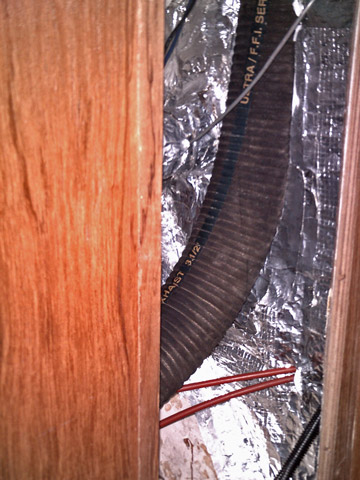
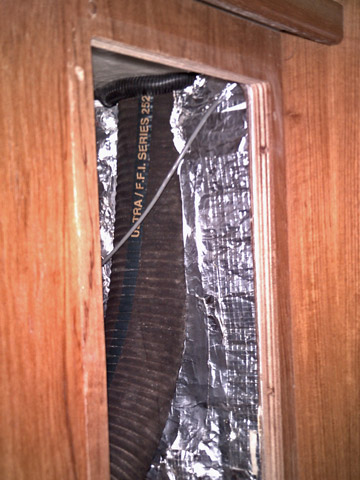
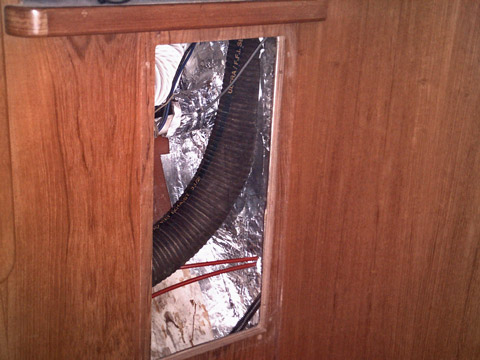
Added about 3" of insulation (multiple layers of 3/4" rigid Dow Corning insulation - "pink board") on the aft side of frig, inside the bulkhead where the engine exhaust and control cables are routed……Also placed foil backed "hot water heater blanket" (about 3/8" thick) on top of this pink board, and around exhaust system (including the riser) {Est. R value increase of 16 - 20}
-
Added about 1" to 1.5" of pink board to the aft, starboard side of frig…between the aqualift and the frig box and more above it…Along with more of the foil backed "water heater blanket" on the outside of all of this…{Est. R value increase of 8 - 10)
-
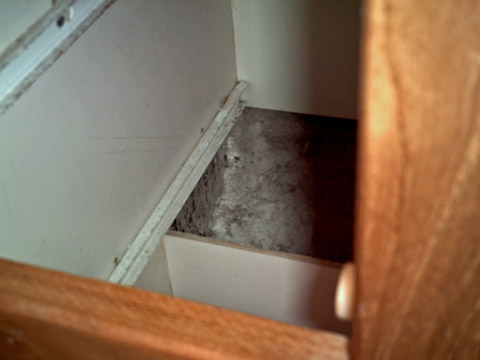
Added 2" to 3" of pink board to aft side of freezer box, access is from removing the cabinet immediately adjacent to the bulkhead…also added more foil backed "water heater blanket" on top of all of that…… {Est. R value increase of 12 - 20}
-
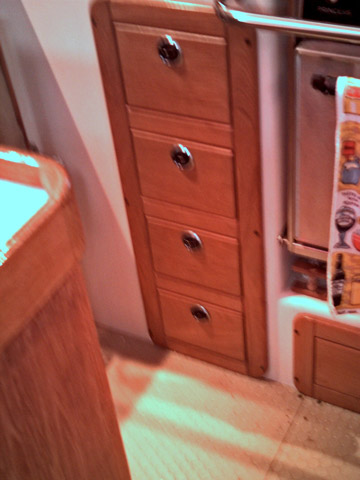
Added 6" of pink board to forward starboard side of frig, (and a layer of the foil backed water heater blanket as well) INSIDE of the cabinet immediately starboard of frig……(loosing a little dry storage in the galley, but gaining a LOT of insulation between the frig and engine compartment) {Est. R value increase of 30+}
-
Added one layer of the foil backed water heater blanket to the "engine side" of the removable panel (access panel to the raw water pump and starter) inside of this cabinet between the engine and frig…
-
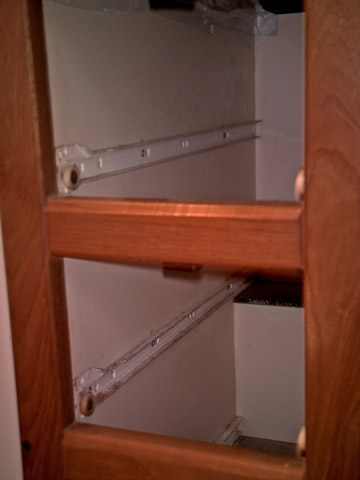
Added 3/4" of pink board and one layer of the foil backed water heater blanket, on the forward side of freezer, between the freezer box and the drawers……This area took a lot of thought, to get at…but I simply made a template (cardboard) and then cut the pink board and foil backed blanket to size, and then cut them into 5 or 6 separate pieces and slid them in from above (under the counter top, thru the drawer openings), like they were panels of a electric garage door…it was a REAL pain, but it works great! {Est. R value increase of 5 - 6}
-
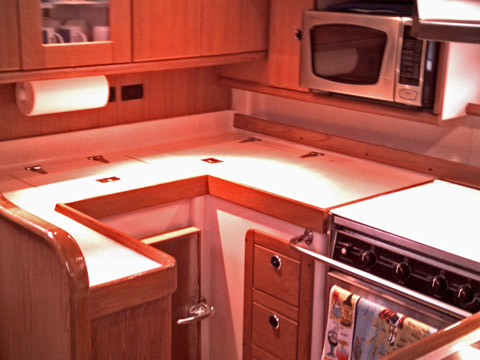
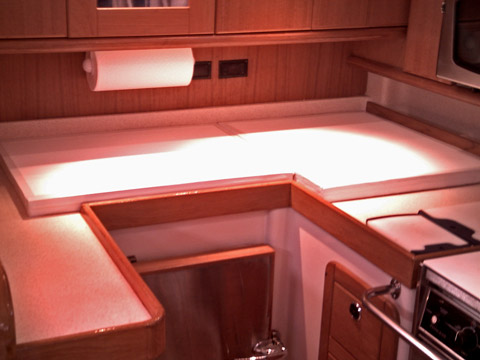
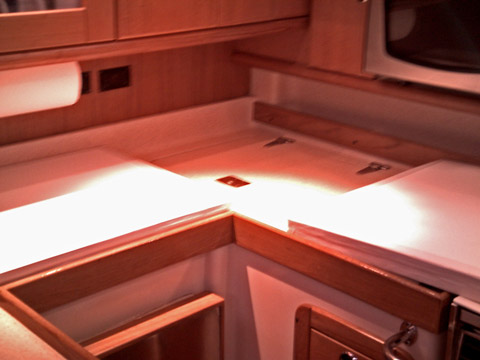
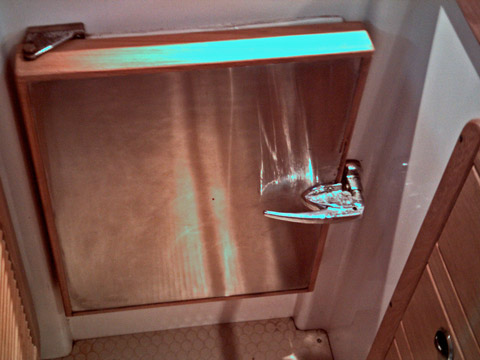
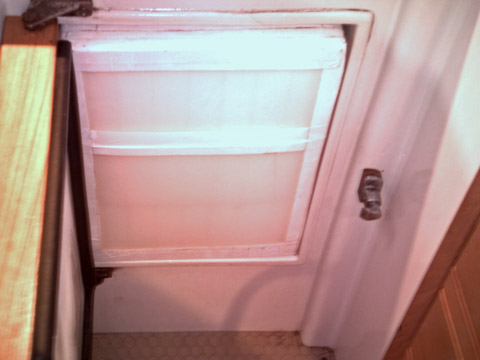
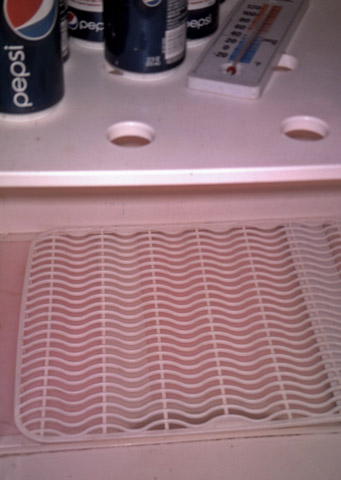
Made up two "insulating covers" / "counter-top covers" (one for frig and one for freezer), that sit nicely on top of counter top…
They are not connected to the countertop, but rather sit in place securely between the backsplash and fiddles (with slight under cut-outs for clearance of the frig and freezer lid hinges), these counter-top panels are secure even in heavy seas, but are also surprisingly easy to slide to the side (for easier access to the freezer) or simply leave in place and lift the frig/freezer lids with them in place…
As such they are the only things you see from the outside…
I used 1.5" of "pink board" (2 layers of 3/4"), with a 060" poly-board "counter-top" material attached to the them…
This is a change from my original set-up and is nice looking as well as functional as both insulation and as a counter-top…
(They easily show how horrible the insulation is on the 470 frig / freezer, as you can feel an ICE COLD counter top underneath the freezer cover…
and a COLD counter underneath the frig cover…
{Est. R value increase of 8}
-
I have not finished, and was planning on moving the AB "cold plate evap" the required 1" away from the outboard wall of the freezer, from its current 1/3" to 1/2" spacing……This should improve cold air flow around the evaporator, and improve the efficiency of the entire system…
Also in the planning stages is, adding some foam (spray-in????) UNDER both frig and freezer boxes, if I can fit my arm(s) in there…it's now just wasted space………I've just had other things come up, so I've not gotten to it yet…Or, if I get real motivated (???) removing the #4 water tank, and get access under the frig / freezer boxes, and build a "proper" amount of insulation down there, using "pink board"…
Inside of frig / freezer boxes:
-
put the rubber stopper in the frig drain, in bottom of frig…and LEAVE it there…
-
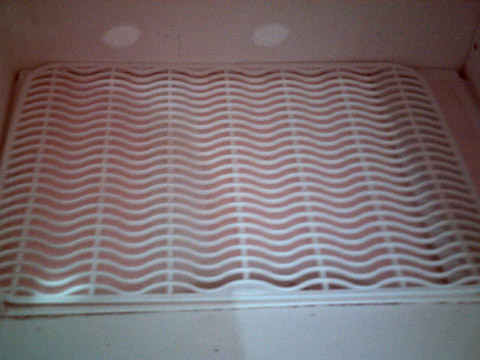
Added 2 layers of 3/4" pink board (rigid Dow Corning insulation) in bottom of frig, loosing 1.5" of height in the bottom of frig, but gaining another 1.5" (R 8) of insulation…used "flexible chopping mats" as an "armor" to protect the foam board from cuts, punctures, etc.
caused by cans, etc. in the frig…{Est. R value increase of 8}
-
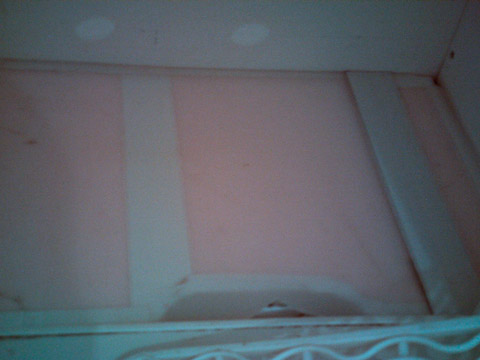
made a 3" thick "plug" of rigid foam insulation (4 layers of 3/4" board) the same size as the front opening frig door, used "flexible chopping mats" as "armor" for this plug as well………this plug is simply a press-fit into the front of the frig and allows a 2" space (by about 10" wide) to allow vertical air flow within the box…It does NOT take any usable space away…but does need to be removed to get things out of the bottom of frig…… {Est. R value increase of 15 -16, for the front door of the frig}……
-
Added 3" (four 3/4" layers) of pink board to bottom of freezer box……this last 3" on the bottom, I couldn't reach unless I climbed up on something and since "cold sinks to the bottom", it was an easy decision…I used the same "flexible chopping mats" as armor for this as well… {Est. R value increase of 16}
-
Added one 3/4" piece of pink board to aft inside of freezer, using the same flexible chopping mats as armor… {Est. R value increase of 4}
NOTE: For items 2 and 4, I needed to drill additional lower "spill-over" hole(s) between the frig and freezer boxes, as the extra insulation on the bottom (primarily the freezer bottom) blocked the existing holes…… I also added two 3" PVC pipe "wall clamps" over the big spill-over hole (on both the inside of frig and inside of freezer), thereby keeping good air flow thru this hole……no matter how much you pack into the boxes, nor how much items shift……
(Click on picture for full size)