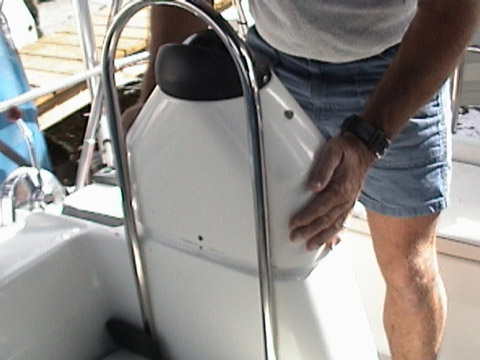
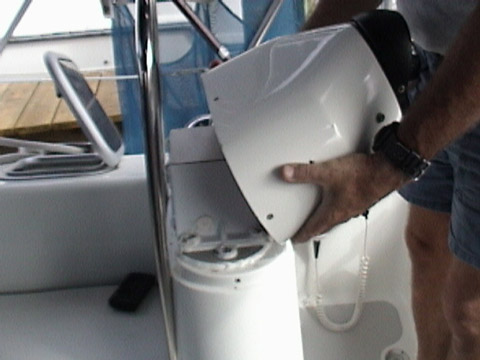
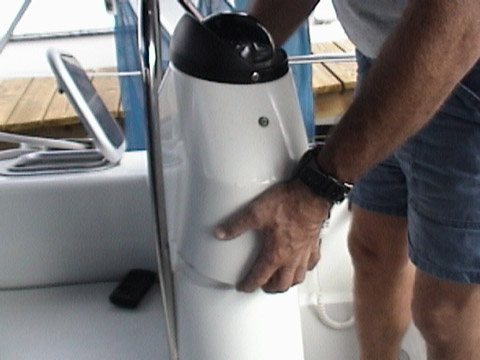
Grasp the pedestal on the lower port & starboard sides. Lift it up off the flange about 3/8” and…
Jim Wohlleber, Beckoning, #76
Tools/equipment needed:
Procedure:
(Click on picture for full size)
Grasp the pedestal on the lower port & starboard sides. Lift it up off the flange about 3/8” and…
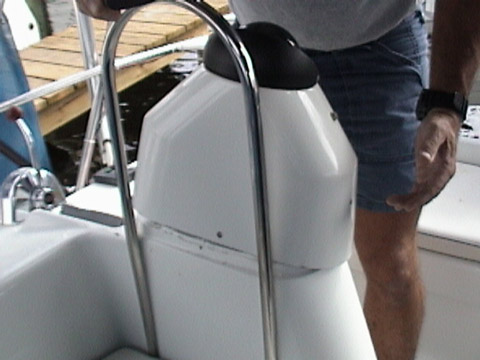
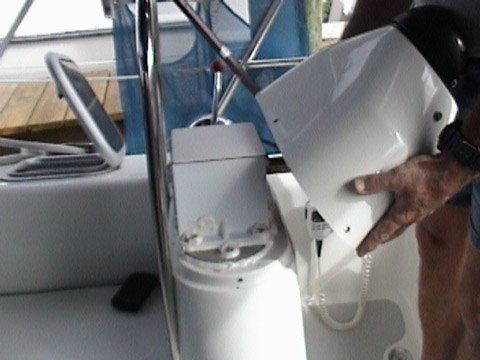
Rotate the stbd side towards the center of the boat whilst tilting the top gently aft.
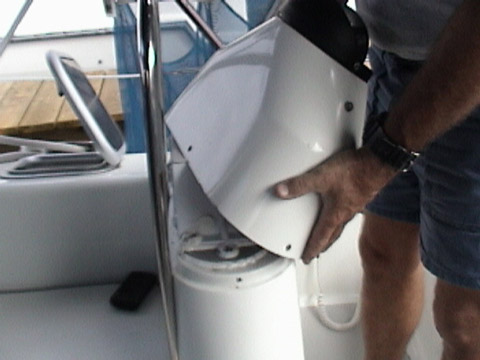
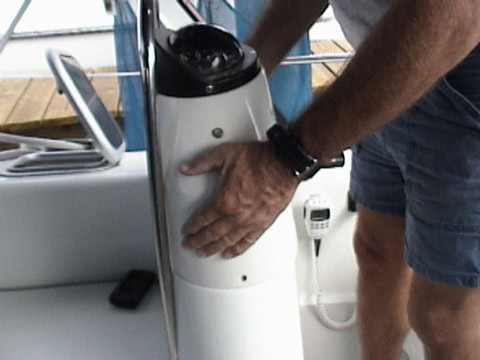
Move the port side of the pedestal aft while rotating it aft and outboard. The fwd starboard side of the pedestal will push against the grabrail and stop.
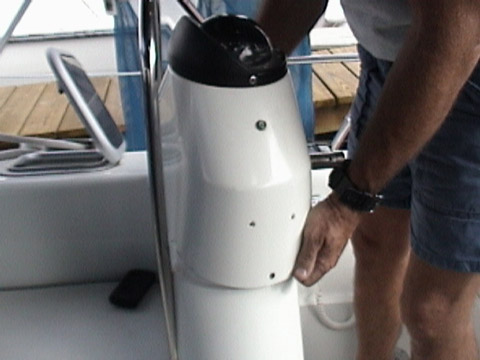
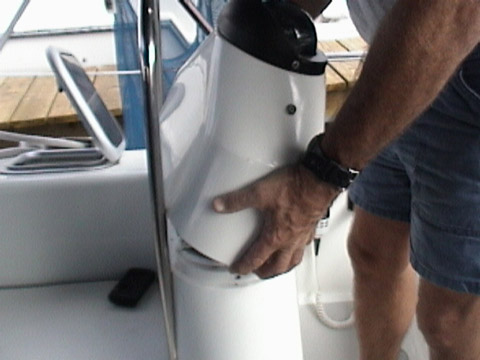
Push a bit more and rotate the starboard side of the pedestal to the area between the vertical grab rails. Then pull the pedestal assembly backwards. You will feel it “give” when the stbd side of the pedestal is between the vertical grab rails or close to that point.
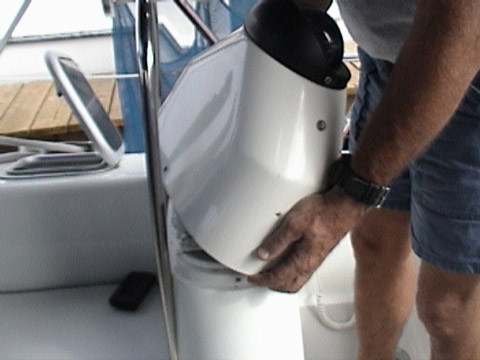
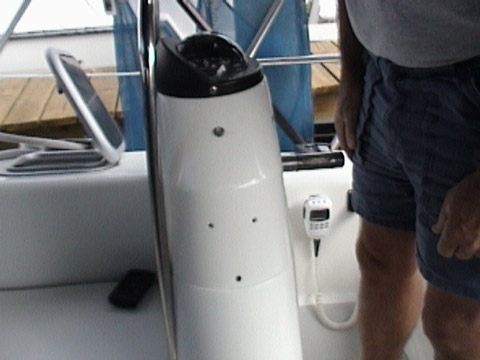
Don’t be afraid to wiggle the pedestal a bit during the removal. You do not have to force it but some physical strength will be required. The fiberglass pedestal top will bend somewhat and then “give”. Using your box cutter, insert the blade gently between the thin dust cover and the fixed pedestal and slide the blade smoothly around the top of the fixed pedestal. This cover is a dust cover only and is not in place with a heavy adhesive. It is very thin so be careful when you are moving the box cutter blade. Remove all old caulk with the box cutter blade/putty knife and clean the area thoroughly with Acetone. This is done to insure adhesion of the new caulking. Inspect the chain and sprocket by rotating the other helm wheel lock-to-lock slowly. Look for uneven wear, loose/worn links and misalignment (not likely you will find that) and dry chain links. You should see some original grease in the shaft area. Use SAE 30 lightly to lube the chain if it is dry. Do not over lube as this will serve no purpose. TIP: if you have a really bright small light it will help see down the sides of the chain/sprocket assembly to view the part of the chain which does not come into view when rotating the other helm wheel. Most of us will also need our reading glasses!!
To reassemble, place a thin layer of caulk where you removed it before! Just a thin layer! Place the dust cover on the pedestal and press gently into place. It is a rectangle and should go on only one way!
Hold the pedestal top as before and slide the pedestal onto the wheel shaft; place the stbd side of the pedestal close to the vertical grab rails and twist while rotating the pedestal top forward. The pedestal will “give” a bit and then be in position to drop down over the flanges on the fixed part of the pedestal. VOILA! The hard part is over!
Inspect the wheel shaft and buff off any rust you find with wire brush or wet emery paper. Also inspect the key and the key race and the inside of the wheel hub for rust and buff off if found. Also buff the washer and fwd side of the wheel nut if rust is found. In general, just clean up the assembly! Replace the stainless “EDSON” plate, the washer, key (tap it into place with the mallet or put the cloth over it and use a hammer gently) and wheel. Replace the wheel nut and wheel brake. Replace the four screws holding the pedestal in place. Repeat the procedure for the port side pedestal. Drink a cold one and congratulate yourself!!! You are done!! Mike Yorke has the 2 minute video I made of the pedestal removal if you still have problems.